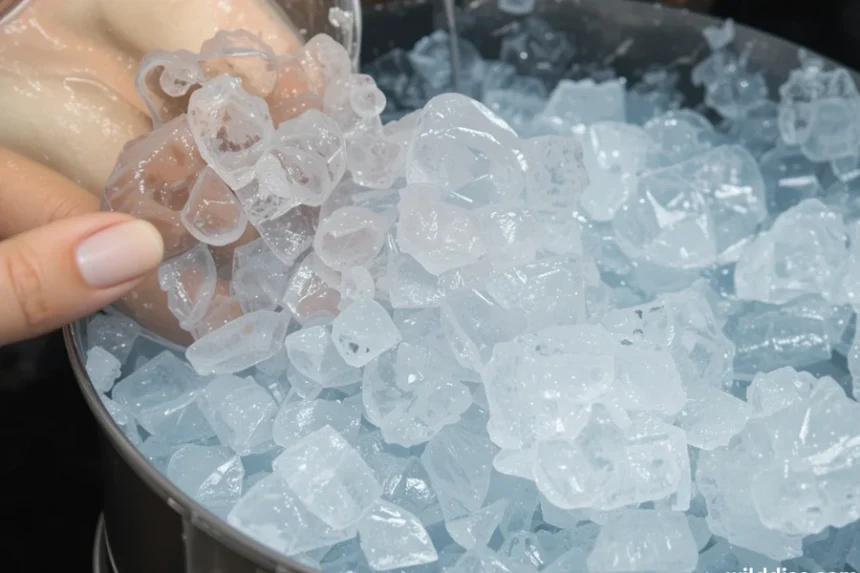
Clear ice has become a sought-after element in the world of cocktails, fine dining, and home entertaining. Unlike ordinary ice, which often appears cloudy and opaque, clear ice offers a pristine, elegant look that elevates any drink or presentation. If you’ve ever wondered how to make clear ice yourself, this comprehensive guide will walk you through the essential steps, tips, and tricks to achieve brilliantly transparent ice at home or professionally. Let’s dive into the art of making clear ice and learn how you can craft beautiful, crystal-clear blocks and cubes.
Understanding Why Ice Becomes Cloudy
Before diving into the process, it’s important to understand why ordinary ice turns out cloudy. Due to retained air, contaminants, and uneven freezing, the majority of homemade and commercial ice is frequently hazy. When water freezes quickly or irregularly, air bubbles and minerals get trapped inside, creating a cloudy appearance.
To make clear ice, the goal is to minimize bubbles and impurities by controlling how and how fast the water freezes. This process involves techniques that encourage a slow, directional freezing, allowing impurities to be pushed out of the ice as it forms. Now, let’s explore the specific methods to achieve this.
Essential Ingredients and Equipment for Making Clear Ice
Water Quality
Start with the highest quality water possible. Filtered or distilled water is ideal because it contains fewer impurities and minerals that can cause cloudiness. Impurities or trapped air are less likely when filtered water is used.
Freezing Container
The ideal container or mold is one that permits directed freezing. Common options include:
- Insulated cooler (such as a small lidded cooler)
- Custom-made directional ice mold
The main characteristic is side insulation, which pushes air contaminants out and promotes ice to freeze from top to bottom.
Freezer
A standard home freezer works fine, but a controlled temperature environment can improve results. Freezing water slowly within appropriate container is crucial.
Additional Tools
- Silicone molds or custom ice trays (optional for smaller shapes)
- Heat gloves or tongs (for handling cold molds)
- Clear ice cutter (for clean cuts)
Step-by-Step Guide on How to Make Clear Ice
1. Use Filtered or Distilled Water
Begin your process with high-quality water. Fill a clean, insulated container or cooler with filtered or distilled water, leaving some space at the top for expansion during freezing.
2. Insulate and Position
Seal the container well, and ensure it is placed inside your freezer without opening it frequently. Slow freezing is required for clean ice, which is why insulation is so crucial. If using a regular ice tray, insulate around it with towels or foam to mimic directional freezing.
3. Freeze Gradually
Set your freezer to a slightly higher temperature—around 20°F (-6°C)—for best results. It should take 24 to 48 hours for the water to freeze. The slow freeze encourages impurities and air bubbles to ascend to the top and leave the forming ice.
4. Remove and Cut the Ice
Once frozen, turn off the freezer and wait until the ice is firm but not completely frozen solid on the top. Remove the block of ice carefully. If you use a cooler, you’ll notice that the bottom part of the block is clear, while the top may be cloudy or contain trapped bubbles.
Use a saw or cleaver to cut away the cloudy or cloudy parts, leaving you with a clear, beautiful core. For small cubes, carefully dislodge the ice from molds and trim any imperfections.
5. Final Drying and Polishing
For stunning clarity, you can shine the ice surface with a towel or cloth after cutting to remove any moisture or condensation. Some enthusiasts even lightly torch or warm the surface for a brief moment to enhance transparency.
Tips for Perfectly Clear Ice
Use boiled water: Boiling your water before freezing removes dissolved gases. Allow it to cool before freezing.
Be patient: Slow freezing is key. Avoid rushing the process.
Limit handling: Minimize movement and temperature fluctuations during freezing.
Use directional freezing: A cooler or specialized mold helps water freeze from top to bottom, pushing impurities upward.
Store properly: To avoid clouding from impurities or moisture, store the completed clear ice in an airtight container.
Creative Ways to Make Clear Ice
Aside from large blocks, you can make clear ice in various shapes:
- Cubes: Use silicone molds for standard or oversized cubes.
- Spheres: Use sphere molds for stylish presentation.
- Custom shapes: Use ice carving tools or creative molds for unique designs.
Why Clear Ice is Worth the Effort
Clear ice not only looks stunning but melts more slowly than cloudy ice, keeping your beverages colder longer without watering them down. Its visual appeal makes it perfect for upscale cocktails like Old Fashioneds, Negronis, or whiskey on the rocks.
Final Thoughts
Making clean ice requires both art or science. Patience, high-quality ingredients, and knowledge of freezing dynamics are necessary. With practice, you can craft crystal-clear ice that impresses guests and elevates your drink presentation. Whether for personal enjoyment or professional bartending, clear ice is a simple yet impactful way to add elegance and sophistication to any occasion.


