
In recent years, holography has transitioned from the time of science fiction into practical applications across various industries like entertainment, education, marketing, and medical imaging. One of the innovative tools enabling this leap forward is the use of 3D screen mesh technology for holograms. If you’re curious about how to use 3D screen mesh for holograms, this comprehensive guide will walk you through the process, best practices, and technological requirements.
Understanding 3D Screen Mesh for Holograms
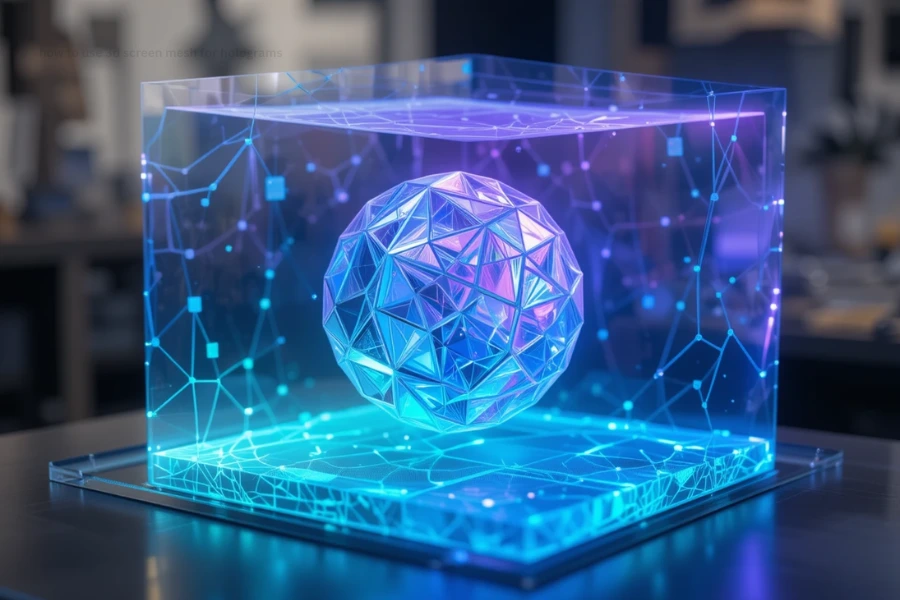
Before diving into how to use 3D screen mesh for holograms, it’s essential to understand what this technology entails. A 3D screen mesh is a physical or digital grid structure designed to project, support, or display three-dimensional images that appear to float in space. These meshes can be made from materials like fine wires, LED panels, or specialized holographic films that work in conjunction with projection technology or light manipulation techniques.
Unlike traditional flat screens, 3D screen meshes create an illusion of depth and volume, allowing viewers to see different perspectives of the hologram, mimicking real-world 3D objects. This technological innovation provides more immersive experiences and opens up new possibilities for visual displays.
Essential Components for Using a 3D Screen Mesh for Holograms
To successfully use a 3D screen mesh for holograms, you need a combination of hardware, software, and environmental setup. Here’s what’s typically involved:
Projection or Display System: High-resolution projectors, laser projectors, or LED panels tailored for holographic displays.
3D Screen Mesh: A physical grid or digital mesh that serves as the holographic surface.
Light Manipulation Techniques: Uses of lasers, light diffraction, or waveguides to create the hologram effect.
Content Creation Software: Specialized tools to generate 3D holographic content compatible with mesh displays.
Environmental Setup: Proper lighting, space, and stabilization to optimize hologram visibility.
Step-by-Step Guide: How to Use 3D Screen Mesh for Holograms
1. Designing and Preparing Holographic Content
Making excellent 3D content that can be shown on a mesh hologram is the first stage. Use advanced 3D modeling and animation software such as Blender, Maya, or 3ds Max to design your hologram models. Ensure your content is optimized for real-time rendering to prevent lag or distortions.
Once your 3D models are ready, export the files in formats compatible with your projection or display system—common formats include OBJ, FBX, or STL.
2. Configuring the Hardware and Software
To improve visibility, position your 3D screen mesh in an appropriate area, ideally one with controlled lighting or darkness. Connect your projection or display hardware, ensuring that it is calibrated correctly to work with the mesh.
Use dedicated software applications that support hologram generation and projection. These can control the timing, positioning, and display parameters of the 3D content on the mesh.
3. Synchronizing Content with the 3D Mesh
Synchronization is crucial for a convincing hologram. The software should align the 3D content with the physical properties of the mesh, adjusting for perspective and viewing angle. This may involve real-time adjustments or pre-calibrated settings.
The display system projects the holographic image onto or through the mesh, leveraging light diffraction or other techniques to produce the illusion of a floating 3D object.
4. Fine-Tuning and Calibration
Once initial projection is complete, fine-tune the system by adjusting the angle, distance, and other parameters to achieve the most realistic hologram effect. Use calibration tools and test content to verify clarity, depth, and stability.
Regular maintenance and calibration ensure optimal performance over time, especially if the system is used for commercial or high-traffic events.
5. Displaying and Interacting with the Hologram
You are prepared to display your hologram once it has been set up and calibrated. Depending on your system, viewers can walk around the display, observe from various angles, or interact using motion sensors or touch interfaces integrated into the display environment.
Interactive features can significantly enhance user engagement, making your hologram more impressive and memorable.
Best Practices for Using 3D Screen Mesh for Holograms
To maximize the potential of your 3D screen mesh hologram setup, consider the following best practices:
Optimize Content Quality: Use high-resolution models and smooth animations to enhance realism.
Control Ambient Lighting: Minimize external light sources that can wash out the hologram.
Regular Calibration: Maintain alignment and clarity by regularly checking and modifying the system.
Engage Viewers: Incorporate interactive elements or multi-view displays to attract attention.
Invest in Good Hardware: Use reputable projection and mesh materials for durability and performance.
Future of 3D Screen Mesh for Holograms
The technology surrounding 3D screen meshes for holograms continues to evolve rapidly. Innovations like lightweight, flexible meshes, improved light manipulation techniques, and AI-driven content creation promise even more immersive and accessible holographic experiences. As the technology advances, using 3D screen mesh for holograms will become more cost-effective and widespread, transforming how we communicate, entertain, and learn.
Conclusion
Learning how to use 3D screen mesh for holograms involves understanding the core components, designing compelling content, configuring the system properly, and fine-tuning for optimal visual impact. With careful setup and ongoing maintenance, holograms can captivate audiences and create unforgettable visual experiences.
Whether for commercial displays, artistic projects, or educational demonstrations, mastering this technology opens a new dimension in visual storytelling. The future of holography is bright—and 3D screen meshes are at the forefront of this exciting revolution.