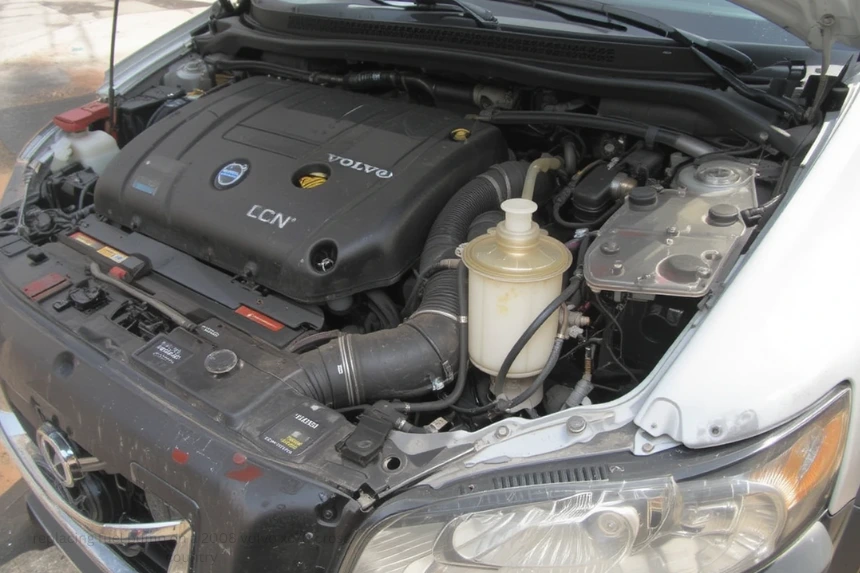
If you’re experiencing starting issues, engine hesitation, or a sudden loss of power in your 2008 Volvo XC70 Cross Country, it may be time to consider replacing the fuel pump. The fuel pump is a vital component responsible for delivering fuel from the tank to the engine at the correct pressure. Over time, it can wear out or fail, leading to performance problems that hinder your driving experience. In this comprehensive guide, we will walk you through the process of replacing the fuel pump on a 2008 Volvo XC70 Cross Country, ensuring you understand each step to perform the repair safely and efficiently.
Understanding the Importance of the Fuel Pump in Your Volvo XC70 Cross Country
The fuel pump in your 2008 Volvo XC70 Cross County is responsible for maintaining the necessary pressure that the engine requires to operate smoothly. Located inside the fuel tank, this component is critical for fuel delivery. If the fuel pump begins to fail, symptoms often include difficulty starting, engine stalling, rough running, or even the engine not starting at all.
Regular maintenance and awareness of potential issues can save you a significant amount of money and prevent breakdown situations. Knowing how to replace the fuel pump is especially useful for those with some mechanical experience or those willing to learn.
Tools and Materials Needed
Before undertaking the task of replacing the fuel pump, gather the necessary tools and materials to ensure a smooth process:
- Replacement of the 2008 Volvo XC70 Cross Country’s fuel pump
- Socket set and ratchet wrench
- Screwdrivers (flat-head and Phillips)
- Fuel line disconnect tool
- Pliers
- Jack and jack stands
- Safety gloves and goggles
- Rags or catch basin for fuel
- Electrical tape or connectors
- Anti-seize compound
- Vehicle service manual (recommended)
Safety Precautions
Working with fuel components involves inherent risks, including fire hazards and exposure to fuel vapors. Take the following precautions:
- Work in a well-ventilated area away from open flames or sparks.
- Disconnect the negative connection from the battery to prevent accidental sparks.
- Relieve the fuel system pressure before starting. This may involve removing the fuel pump relay or fuse and starting the vehicle until it stalls.
- Put on the proper safety equipment, such as goggles and gloves.
- Keep a fire extinguisher nearby, just in case.
Step-by-Step Guide to Replacing the Fuel Pump
1. Prepare the Vehicle
Parking your Volvo XC70 on a flat surface is the first step. Engage the parking brake and ensure the engine is cool. Use the jack to lift the vehicle and secure it with jack stands for safe access to the fuel tank area.
2. Disconnect the Battery
Locate the negative terminal on the battery and disconnect it using a wrench. This step prevents electrical shock or accidental sparks during the repair.
3. Relieve Fuel System Pressure
Identify the fuel pump relay or fuse in the fuse box. Remove it to prevent fuel from circulating under pressure. Start the engine and let it run until it stalls, indicating that pressure has been relieved.
4. Access the Fuel Tank
Depending on your vehicle’s design, access to the fuel pump may require removing the rear seat or lifting the rear cargo area lining. For most models, the fuel pump assembly is accessible through an opening in the top of the fuel tank, which may involve removing a cover or access panel.
5. Drain or Lower the Fuel Tank (if necessary)
If the fuel pump isn’t accessible without removing the tank, you’ll need to safely drain the tank using a siphon or drain plug. Support the tank with a jack, and carefully lower it to gain access. Be cautious as the tank may still contain residual fuel.
6. Disconnect Fuel Lines and Electrical Connectors
Carefully disconnect the fuel lines using a fuel line disconnect tool. Be prepared for some fuel spillage by placing rags or a catch basin underneath. Then, detach any electrical connectors attached to the fuel pump assembly.
7. Remove the Old Fuel Pump
Unscrew the retaining ring or bolts securing the fuel pump assembly. Carefully lift out the entire unit, noting the orientation and position for correct reinstallation. Remove the fuel sender and other components as required.
8. Install the New Fuel Pump
Compare the new pump with the removed unit to ensure they match. Install any necessary components onto the new pump, such as the sender and retainer rings. Carefully position the new pump into the tank or housing and secure it firmly with the retaining ring or bolts.
9. Reconnect Fuel Lines and Electrical Connections
To avoid leaks, reattach all fuel lines, making sure they are firmly attached. Reconnect any electrical connectors to the new pump.
10. Reassemble and Test
Replace the access cover or panel, and if you lowered the fuel tank, lift and secure it back in place. Reconnect the fuel pump relay or fuse and reconnect the negative terminal of the battery.
Start the engine and observe for any leaks or irregularities. Verify engine performance and fuel pressure. If everything works as it should, your replacement is finished.
Final Tips and Maintenance Advice
- Always use quality replacement parts compatible with your 2008 Volvo XC70 Cross Country.
- Periodically inspect the fuel system for leaks or damage.
- Keep your fuel system clean by using high-quality fuel and replacing filters regularly.
- If you’re unsure about any step, consult a professional mechanic to avoid costly mistakes or safety hazards.
Conclusion
Replacing the fuel pump on a 2008 Volvo XC70 Cross Country may seem daunting, but with the right tools, precautions, and guidance, it can be managed successfully. This maintenance task can save you money and extend the lifespan of your vehicle when done correctly. Always prioritize safety, and don’t hesitate to seek professional help if needed. Properly functioning fuel delivery is essential for optimal vehicle performance, so addressing fuel pump issues promptly is essential for a smooth and reliable driving experience.


