

Taking crisp, clear photographs often requires stabilizing your camera. While a tripod is the most straightforward device to hold a camera steady, there are many situations where you don’t have access to one. Whether you’re traveling, capturing spontaneous moments, or simply seeking more flexibility, knowing how to hold camera up without tripod can significantly improve your photography skills. In this guide, we’ll explore practical techniques, creative hacks, and tips to help you stabilize your camera confidently without a tripod.
Why Stabilization Matters in Photography
Before delving into methods, it’s crucial to understand why stabilization is essential. When you press the shutter button, any small movement can cause blur, especially in low-light conditions or when using slow shutter speeds. Holding the camera steadily minimizes motion blur, ensuring sharper images and better overall quality.
Basic Techniques for Holding a Camera Without Tripod
Here are some fundamental methods to stabilize your camera effectively:
1. Use Your Body as a Stabilizer
Your body can act as a natural tripod if you position it correctly. Stand with your feet shoulder-width apart, and keep your elbows close to your sides. Tuck your arms into your torso to create a stable frame. To further stabilize, gently lean against a solid surface such as a wall, tree, or sturdy post. This reduces the vibrations caused by hand movement.
2. Find a Stable Surface for Support
Look for surfaces like benches, railings, rocks, or walls. To steady your shot, place your hands or the bottom of your camera against these objects.Using an available surface reduces your hand’s movement and provides a more stable base.
3. Use Proper Grip Techniques
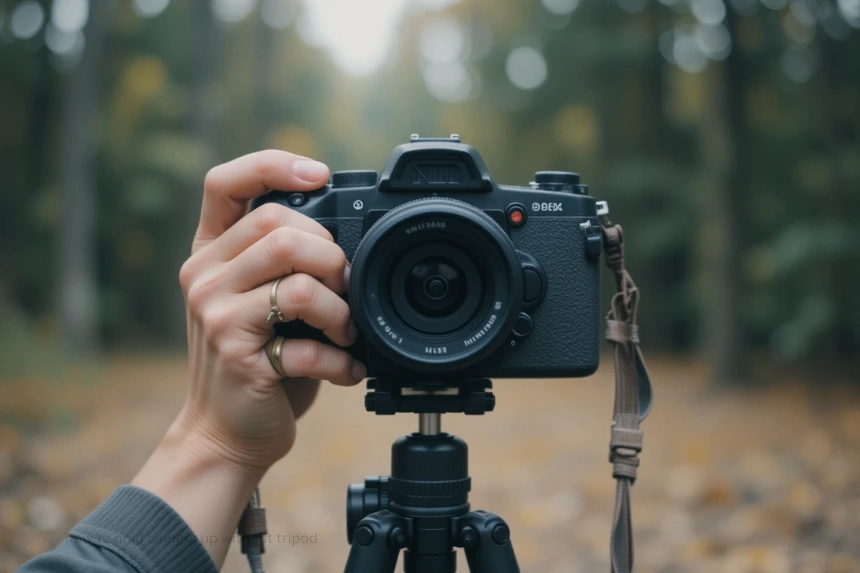
Hold your camera with both hands. Use your right hand to grip the camera body firmly, with your index finger on the shutter button. Support the lens or camera body with your left hand, placing it under the camera for added stability. Keep your hands toward your body and your elbows tucked under.
4. Breathe and Control Your Breathing
A simple but effective tip is to control your breathing. Inhale slowly, exhale gradually while gently pressing the shutter. This technique minimizes body movement, which is often most noticeable during shallow or slow shutter shots.
Advanced Stabilization Tricks Without a Tripod
If you want to improve further, try some advanced techniques:
1. Use the “Two-Thirds” Technique
Hold your camera with your elbows locked against your chest at a 45-degree angle. This position feels more stable, resembling a natural, stationary stance that minimizes shake.
2. Engage Your Core and Bracing
Engage your core muscles and tighten your body slightly to create a rigid frame. Lean into a stable object, such as a wall or tree, and press your camera against it. This additional support prevents unnecessary movement.
3. Use the Camera’s Stabilization Features
Many modern cameras and lenses have built-in stabilization, often known as image stabilization (IS/VR/OSS). Enable this feature to compensate for minor shakes. When combined with proper holding techniques, this significantly improves image sharpness.
4. Practice Focus and Shutter Speed Settings
Adjust your camera settings to match a faster shutter speed for handheld shots, especially in low light. The “500 rule” is a handy guideline: use a shutter speed of at least 1/your focal length (e.g., for a 50mm lens, aim for at least 1/50 second). This reduces motion blur caused by hand movement.
Tips for Special Situations
Different shooting conditions require tailored approaches:
1. Shooting in Low Light
Use a wider aperture to allow more light while maintaining sharpness. Increase ISO settings cautiously to compensate for slower shutter speeds, but avoid excessive noise. Stabilize your body with the techniques mentioned above.
2. Capturing Long Exposures
When doing long exposure shots (like night photography), stability becomes critical. Use any available surface as support, or create a makeshift support by stacking stones or placing the camera on a steady surface. Use a remote shutter release or your camera’s timer to prevent shake during shutter activation.
3. Shooting While Moving
If you are in motion and don’t have a tripod, try to stabilize your body as much as possible. Keep your feet anchored firmly and move fluidly without jerking. Use burst mode to increase your chances of capturing a sharp image.
Creative Alternatives if You Don’t Have a Tripod
Besides traditional techniques, think creatively:
- Use a selfie stick or monopod for increased stability.
- Build a DIY tripod using household items like books, cans, or cardboard stands.
- Use your camera’s auto-stabilization modes if available.
Final Thoughts: Mastering Camera Hold Strategies Without a Tripod
Learning how to hold camera up without tripod is an essential skill for photographers seeking flexibility and spontaneity. By employing body stabilization, seeking support surfaces, and adjusting camera settings, you can achieve sharp, professional-looking images even without traditional gear.
Remember, practice makes perfect. Spend time experimenting with different techniques in various environments, and you’ll develop a steady hand and confident shooting style. Whether you’re capturing moments in nature, at events, or during street photography, these tips will help you produce clearer, more memorable images without relying on a tripod.